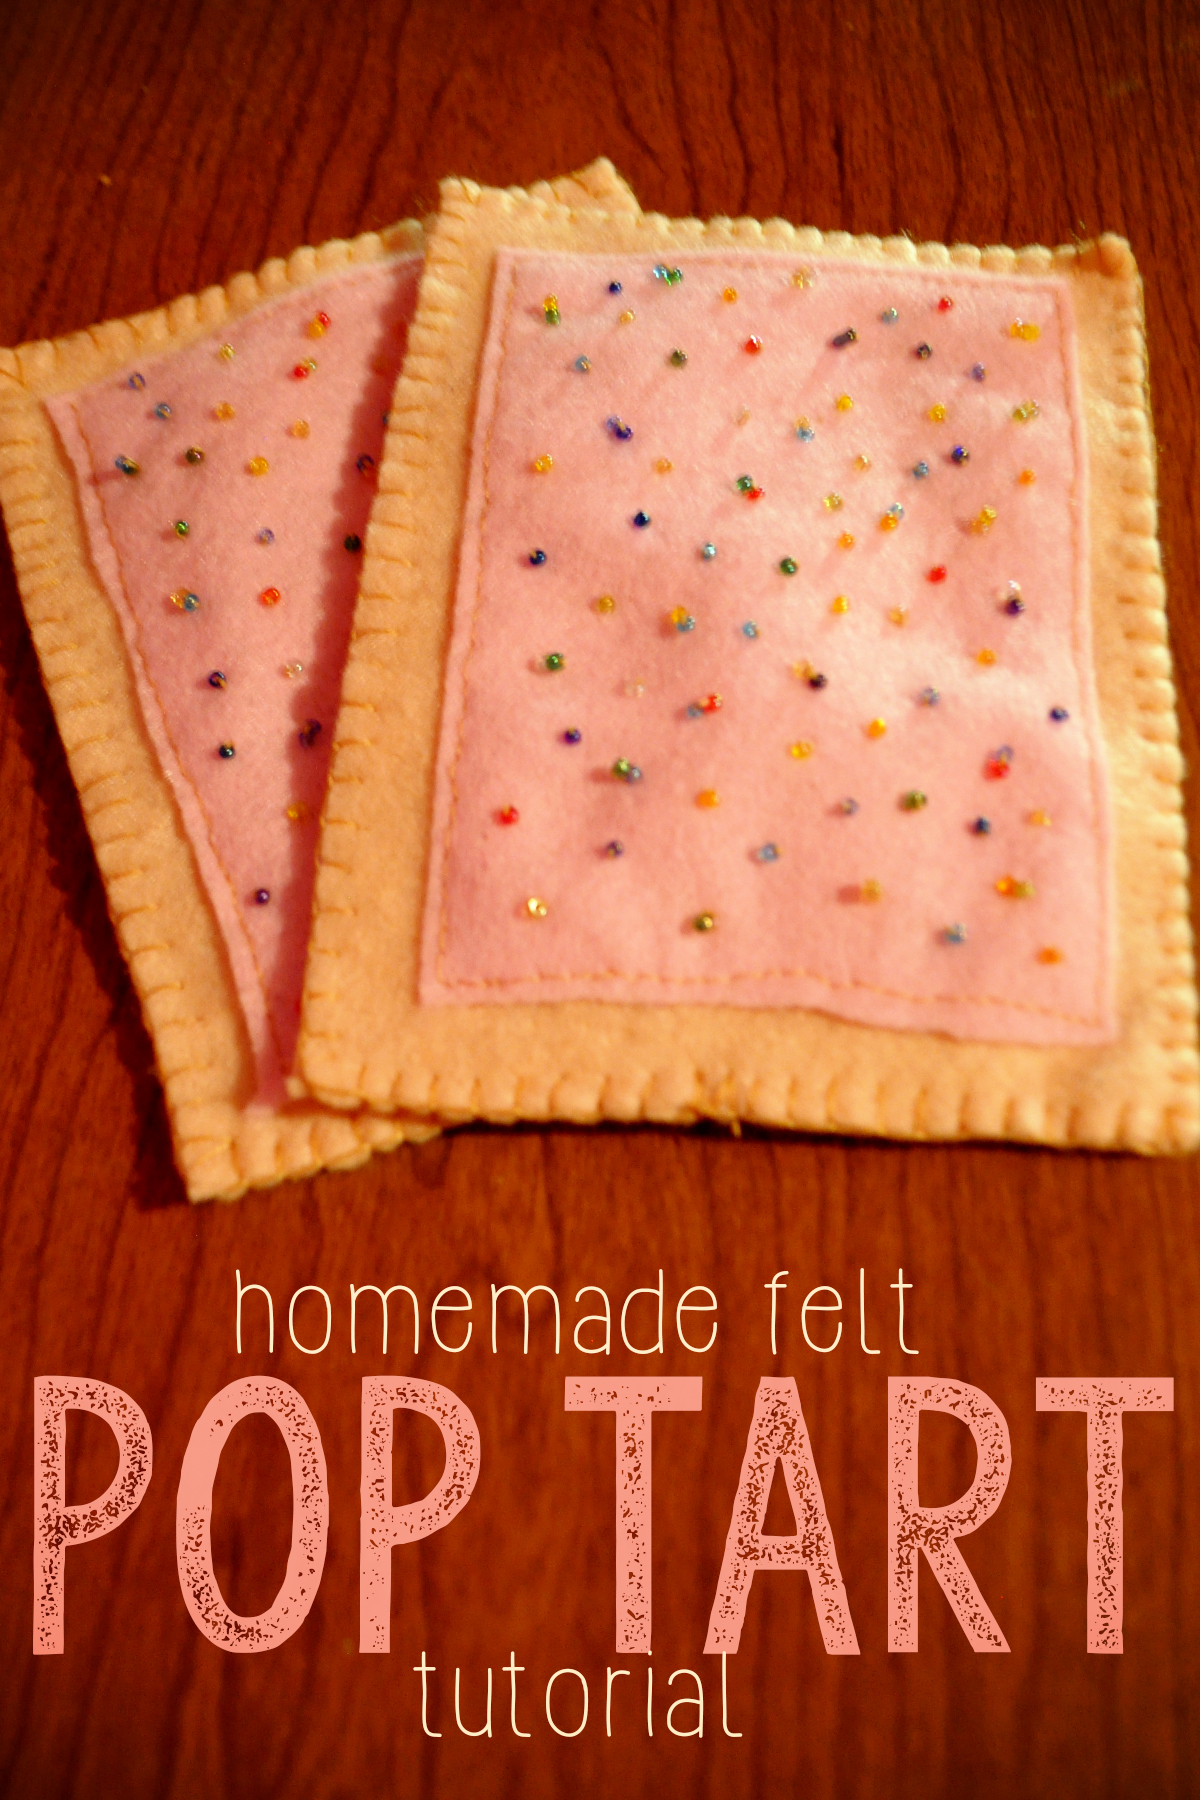
No one tells you that making felt food is kind of like the gateway drug into the DIY world. You start out with just one set of felt doughnuts or cookies, and before you know it, you’ve got a full pantry of felt crafty goodness. You see, felt food costs quite a bit pre-made, but costs only pennies to create yourself! These homemade felt food Pop Tarts cost less than 50 cents to make and are SO cute!
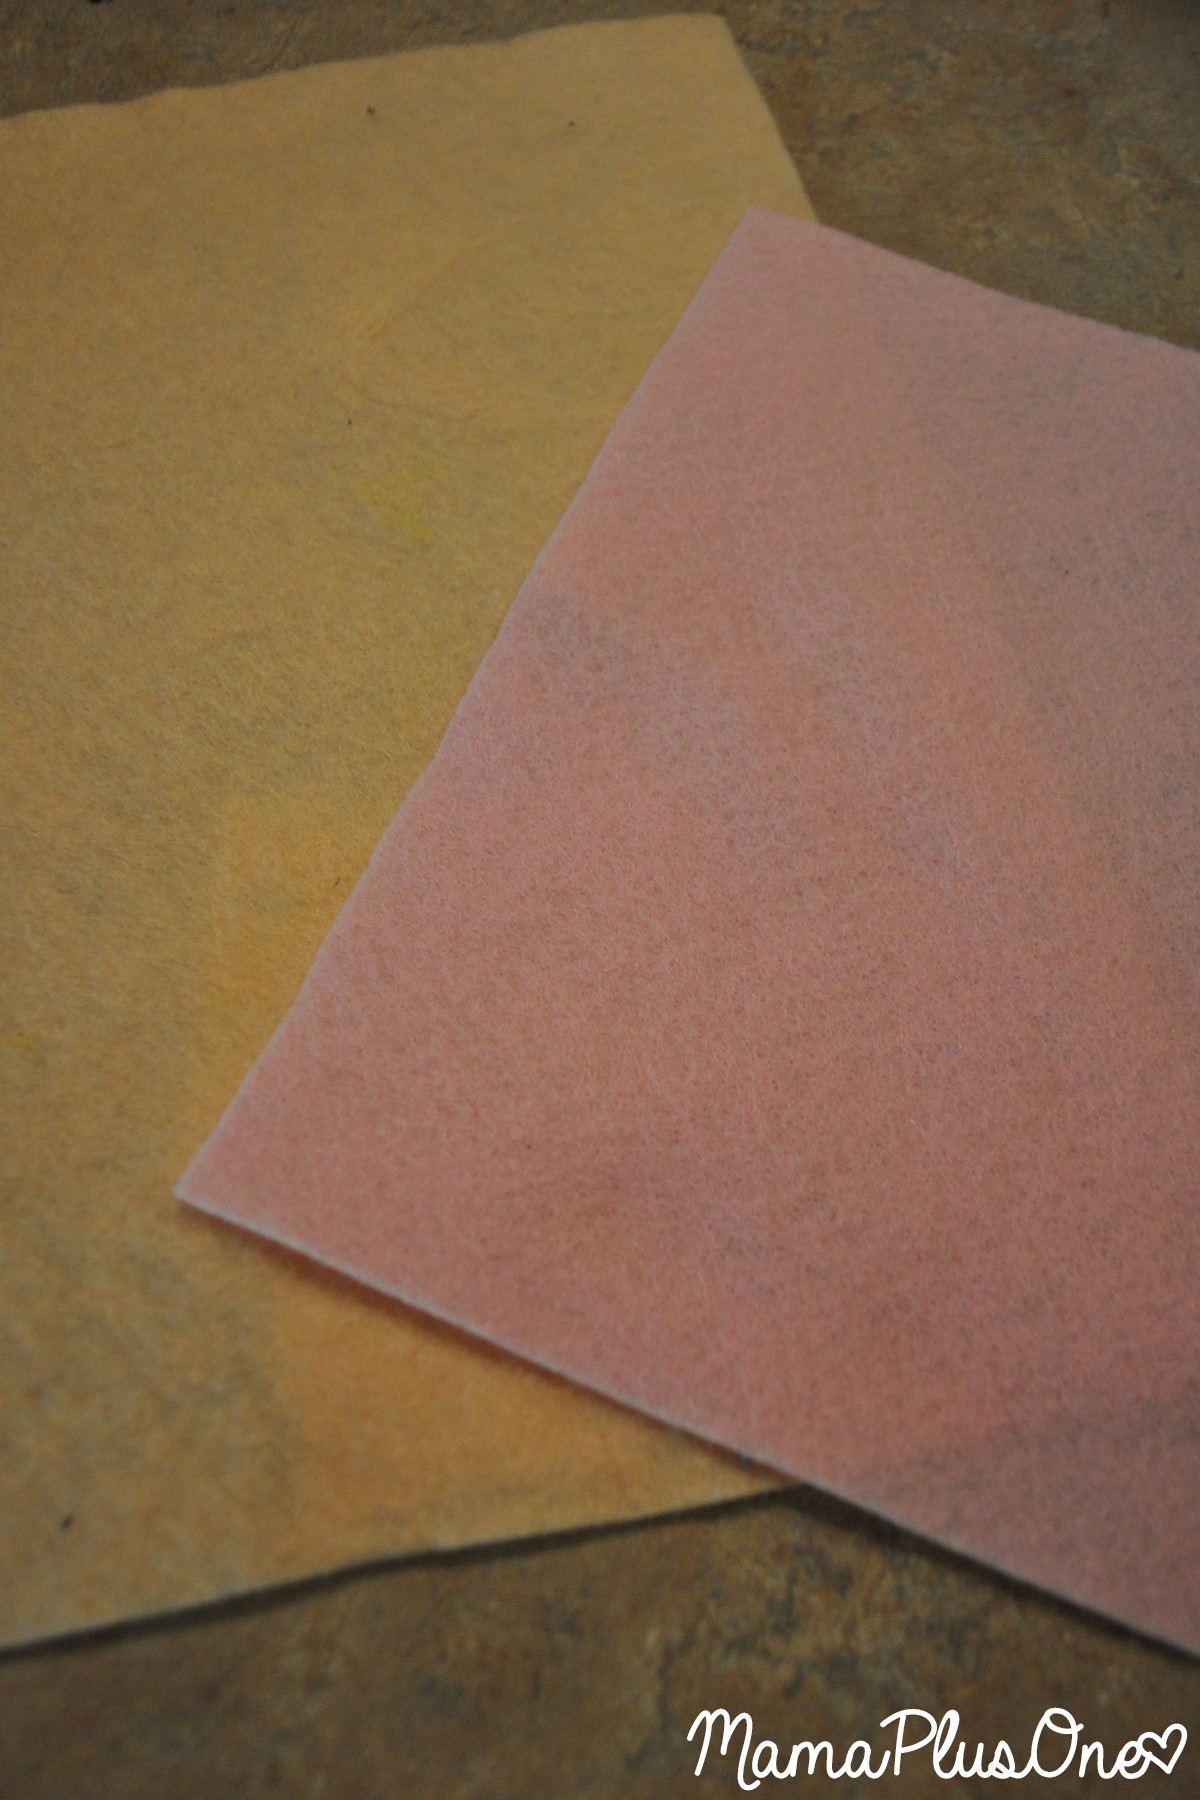
In order to make Felt Food Pop Tarts, you’re going to want to start out with one 8×10-ish sheet of a tan or baked goods color (we went with Champagne from our local Hobby Lobby, but you can choose any light tan-ish brown you like), and half an 8×10 sheet of a colored sheet of your choice for the frosting. White, pink, and light blues work well, but you can use any color you think would make a nice frosting. You can save the other half of the colored sheet for another felt food project or to make a second set of Pop Tarts. You’ll also need multi-colored seed beads, needles, some thread that closely matches your tan felt, and pins (optional). I like to use quilting needles for this because they tend to have the smallest eye, which works best with the seed beads. Much larger, and many of the seed beads won’t fit the needle.
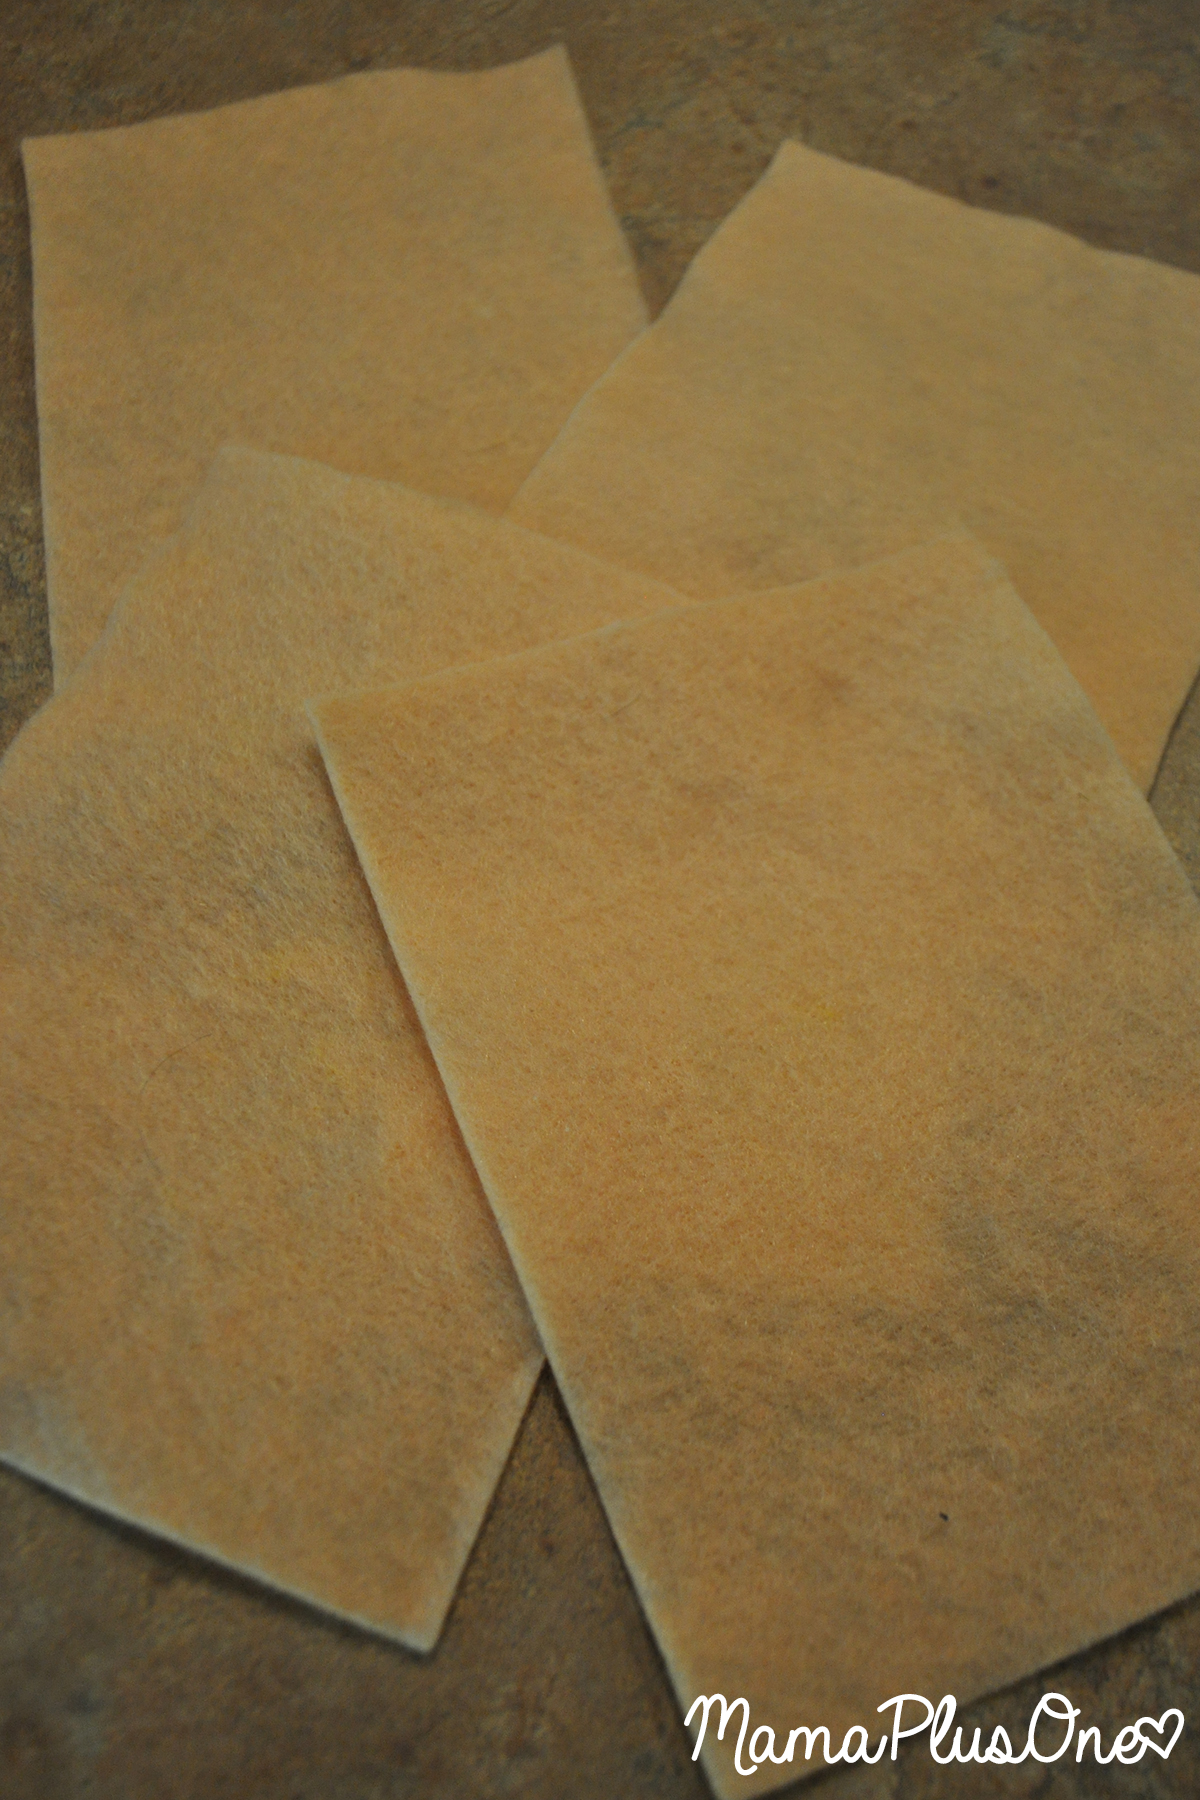
Start by cutting your tan felt into four rectangles. This is most easily achieved by folding it in half, cutting it, then folding it in half again the other way and making another cut so you wind up with four even rectangles roughly the same dimensions as a real Pop Tart for your felt food. This will double as a measuring guide for your frosting.
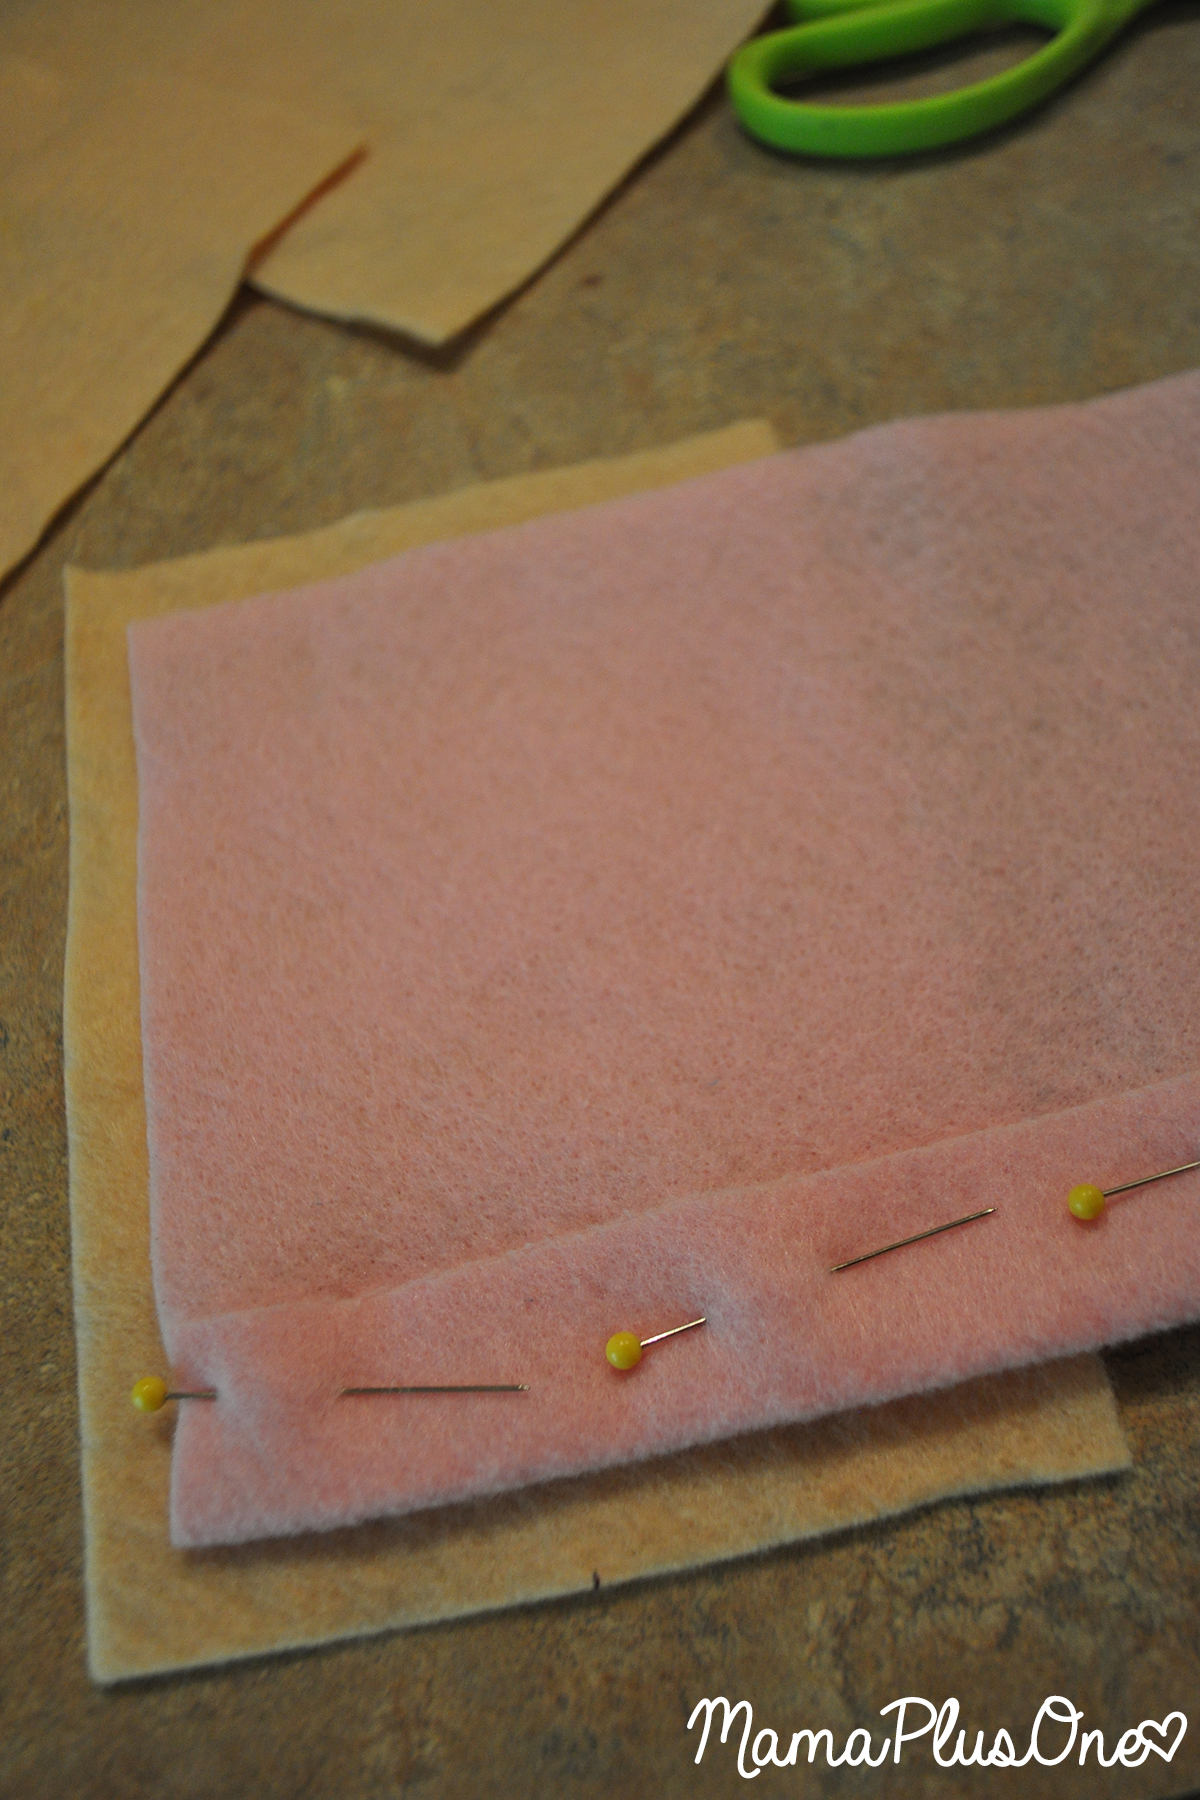
Frosting on a Pop Tart doesn’t go all the way to the edges, and making authentic felt food always makes it a little more fun! To achieve the perfect frosting look, you can use your tan rectangle as a measuring guide, making your colored felt just a smidge smaller than the tan felt. I made mine about 1/2 an inch smaller on each side. I like to eyeball it and use pins to mark my folds for cutting, but you can be more precise and use a measuring instrument if you choose. Just as the frosting doesn’t go all the way to the edges on a real Pop Tart, the frosting also isn’t perfectly even all around, so I don’t mind eyeballing it a bit.
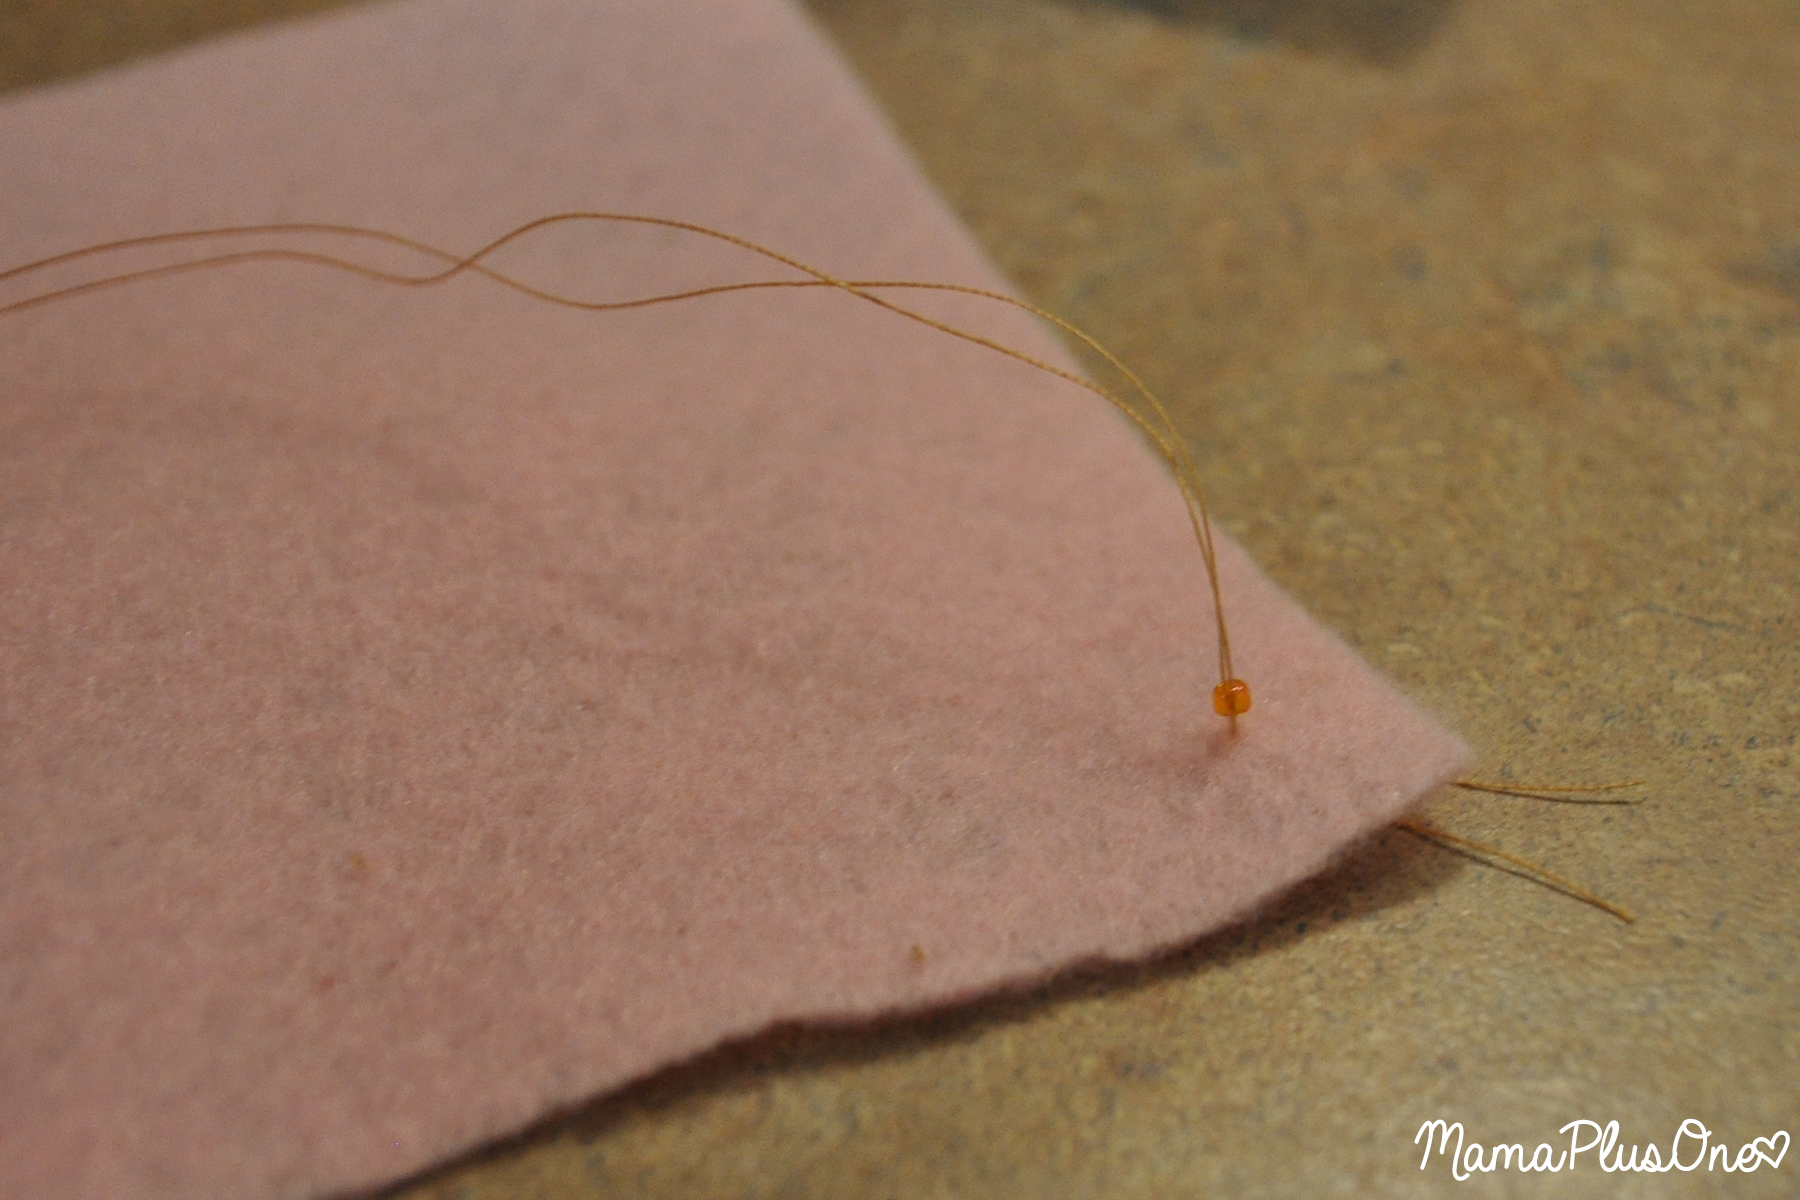
Once you have 4 tan rectangles and 2 colored rectangles, you’re ready to start attaching sprinkles. While you don’t necessarily need sprinkles for your Pop Tart, I think they add a lot of character! After multiple attempts and trial and error, it became clear to me that hand sewing them was the way to go. I tried attaching them with various fabric and felt glues, and it seemed to always make a big mess, with the end result being a lot of seeds falling off. It should be noted here that seed beads could be a choking hazard, so it’s not likely a good idea to give these felt food Pop Tarts to any kids under the age of 3, but because of the size of seed beads, it’s highly unlikely a child will choke on them.
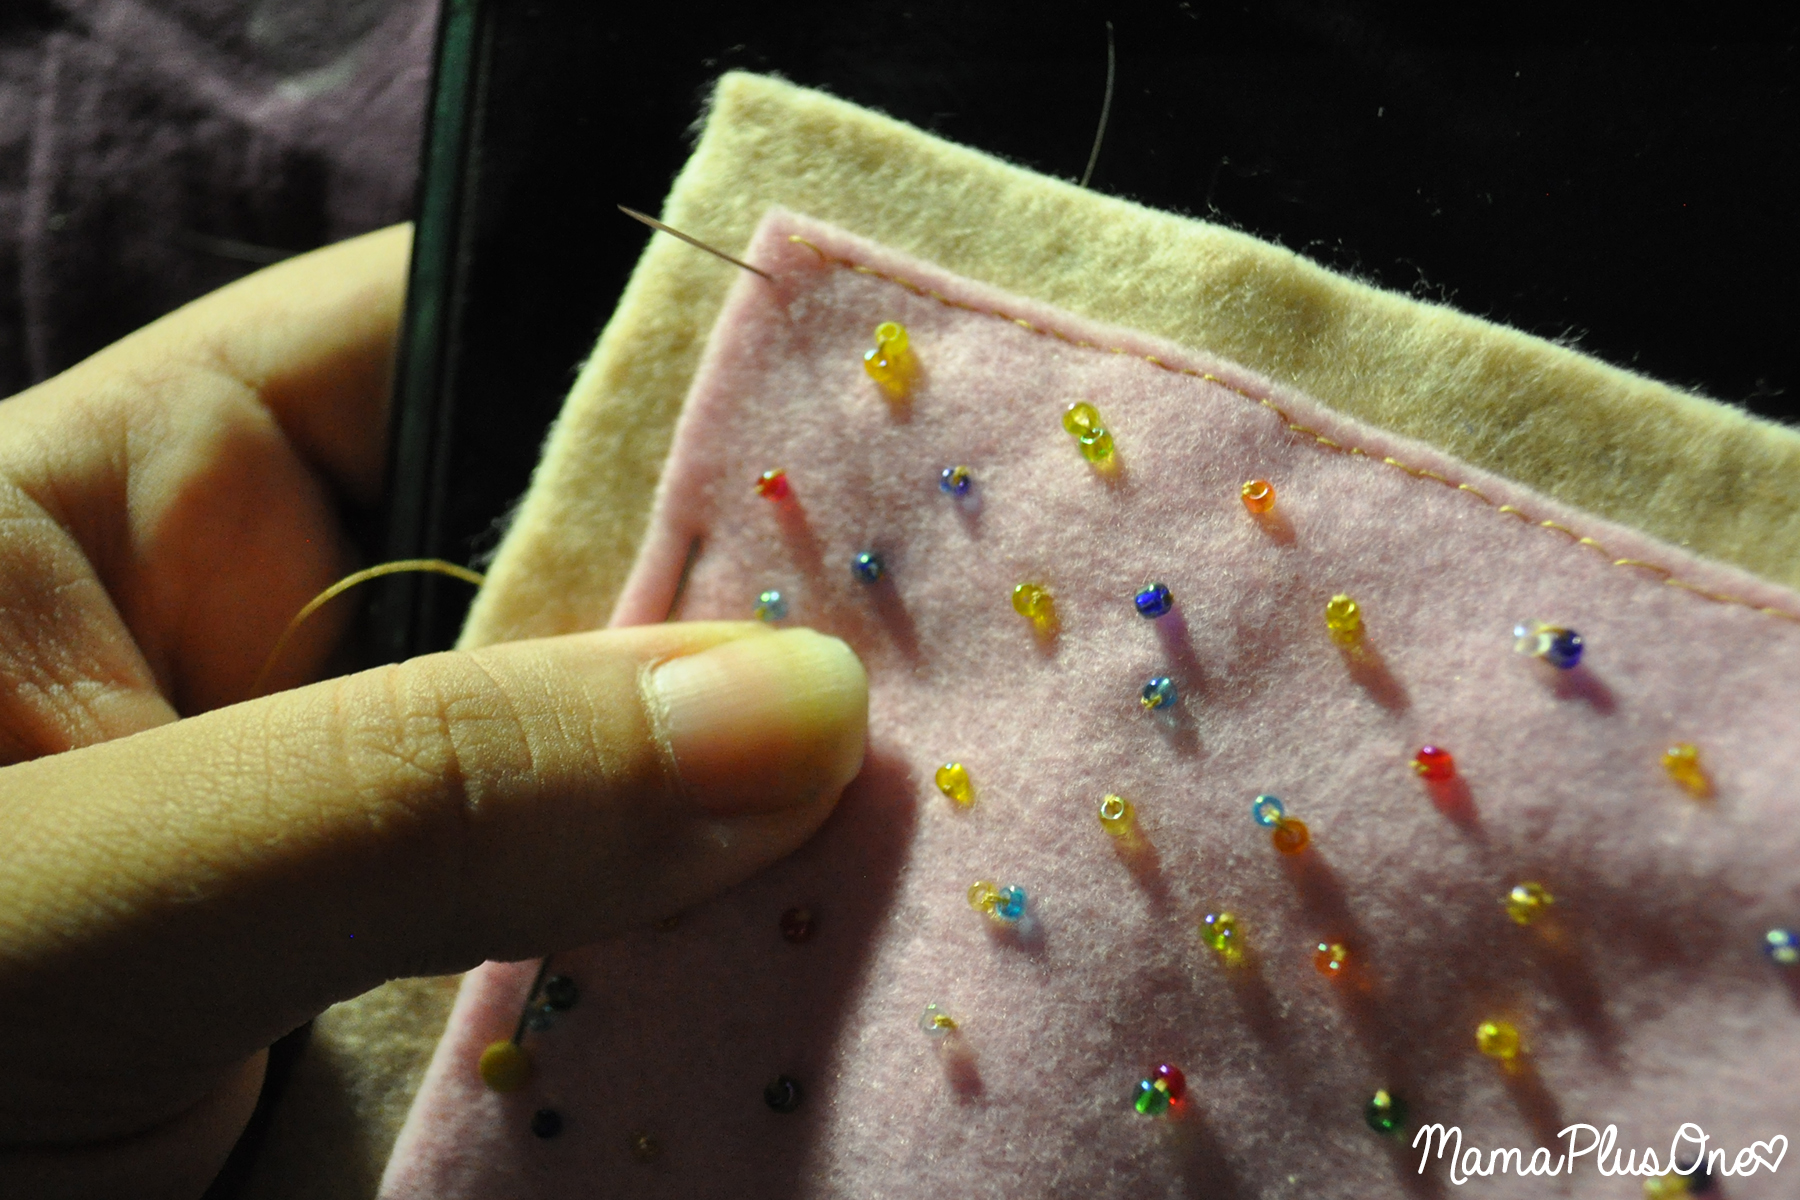
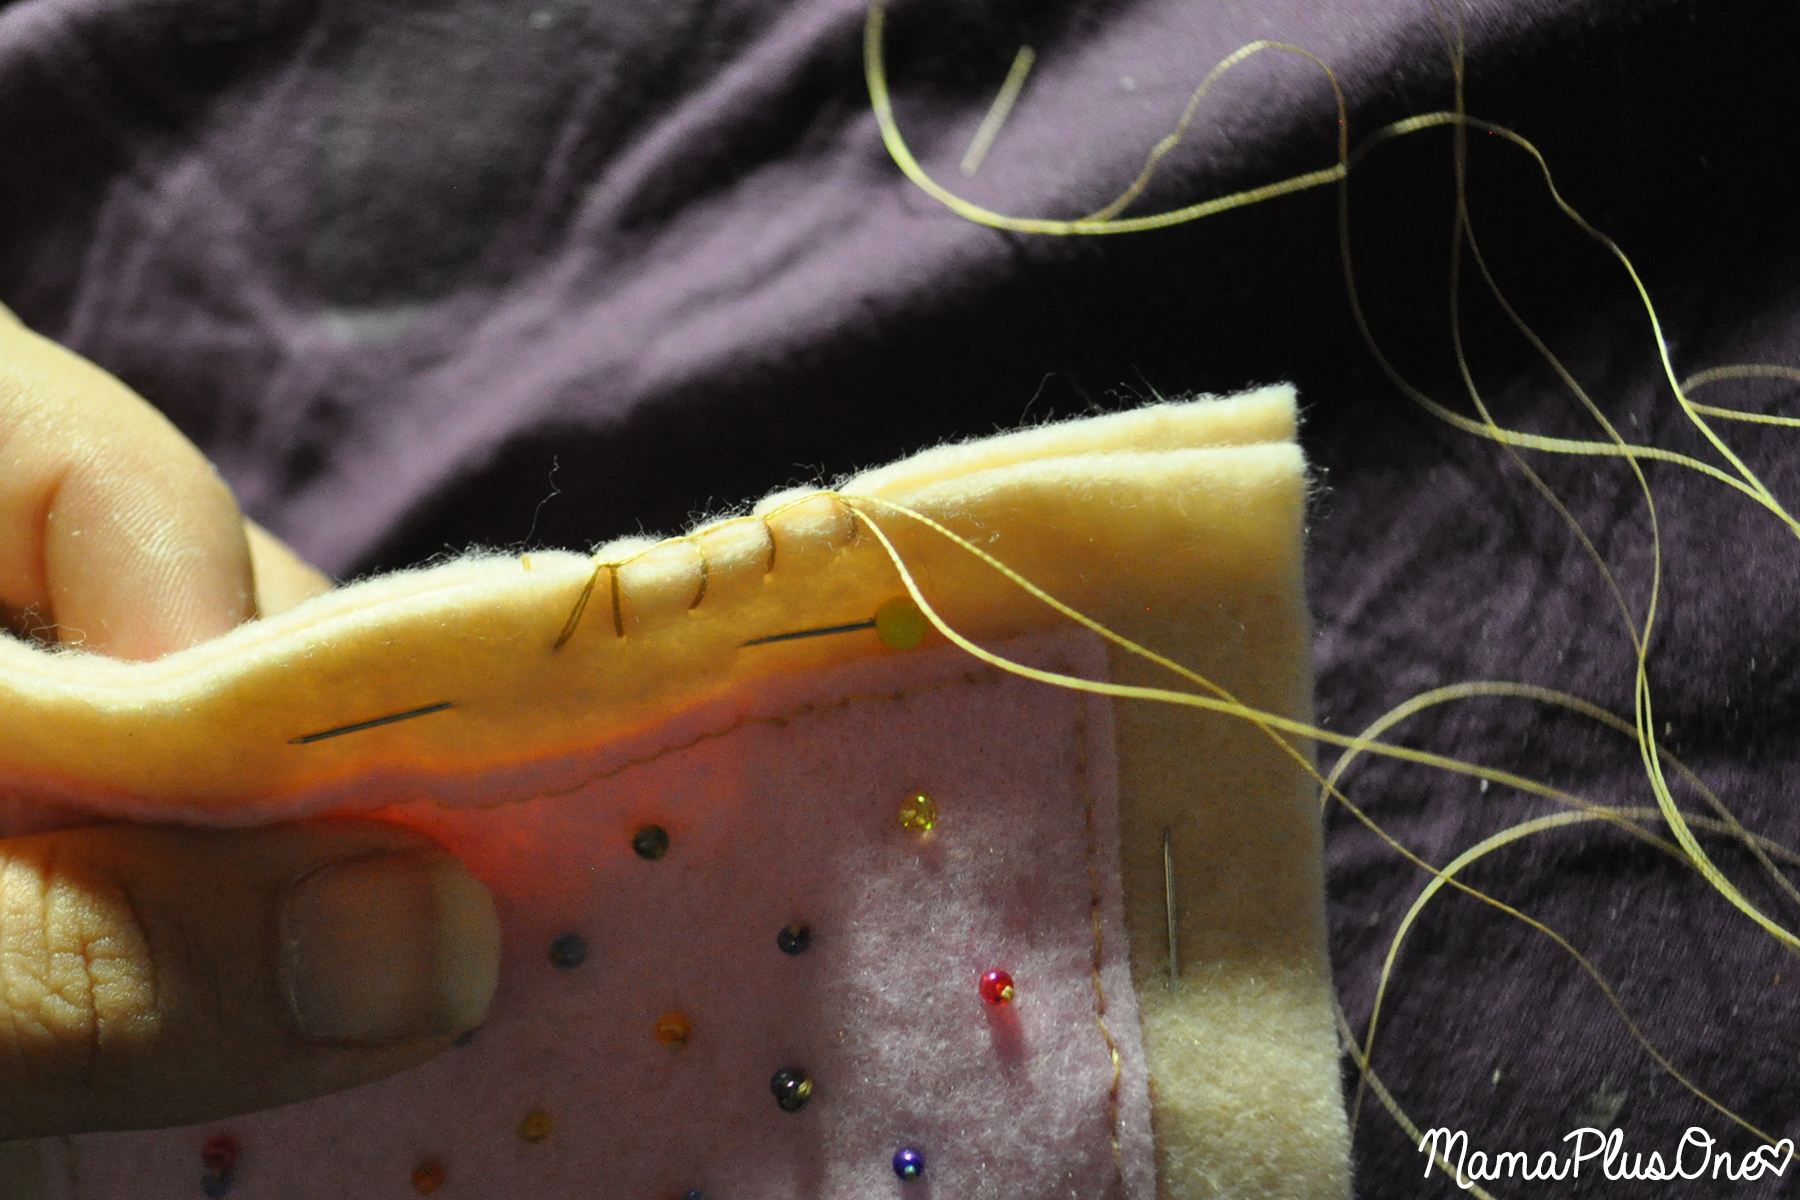
Start by tying off some thread after threading your needle– I like to double-up my thread for a little more stability. Sew upwards into the felt, from the bottom-side through the top-side. String a bead or two on, then go back down through to the bottom side, trying to match your original hole as closely as possible.
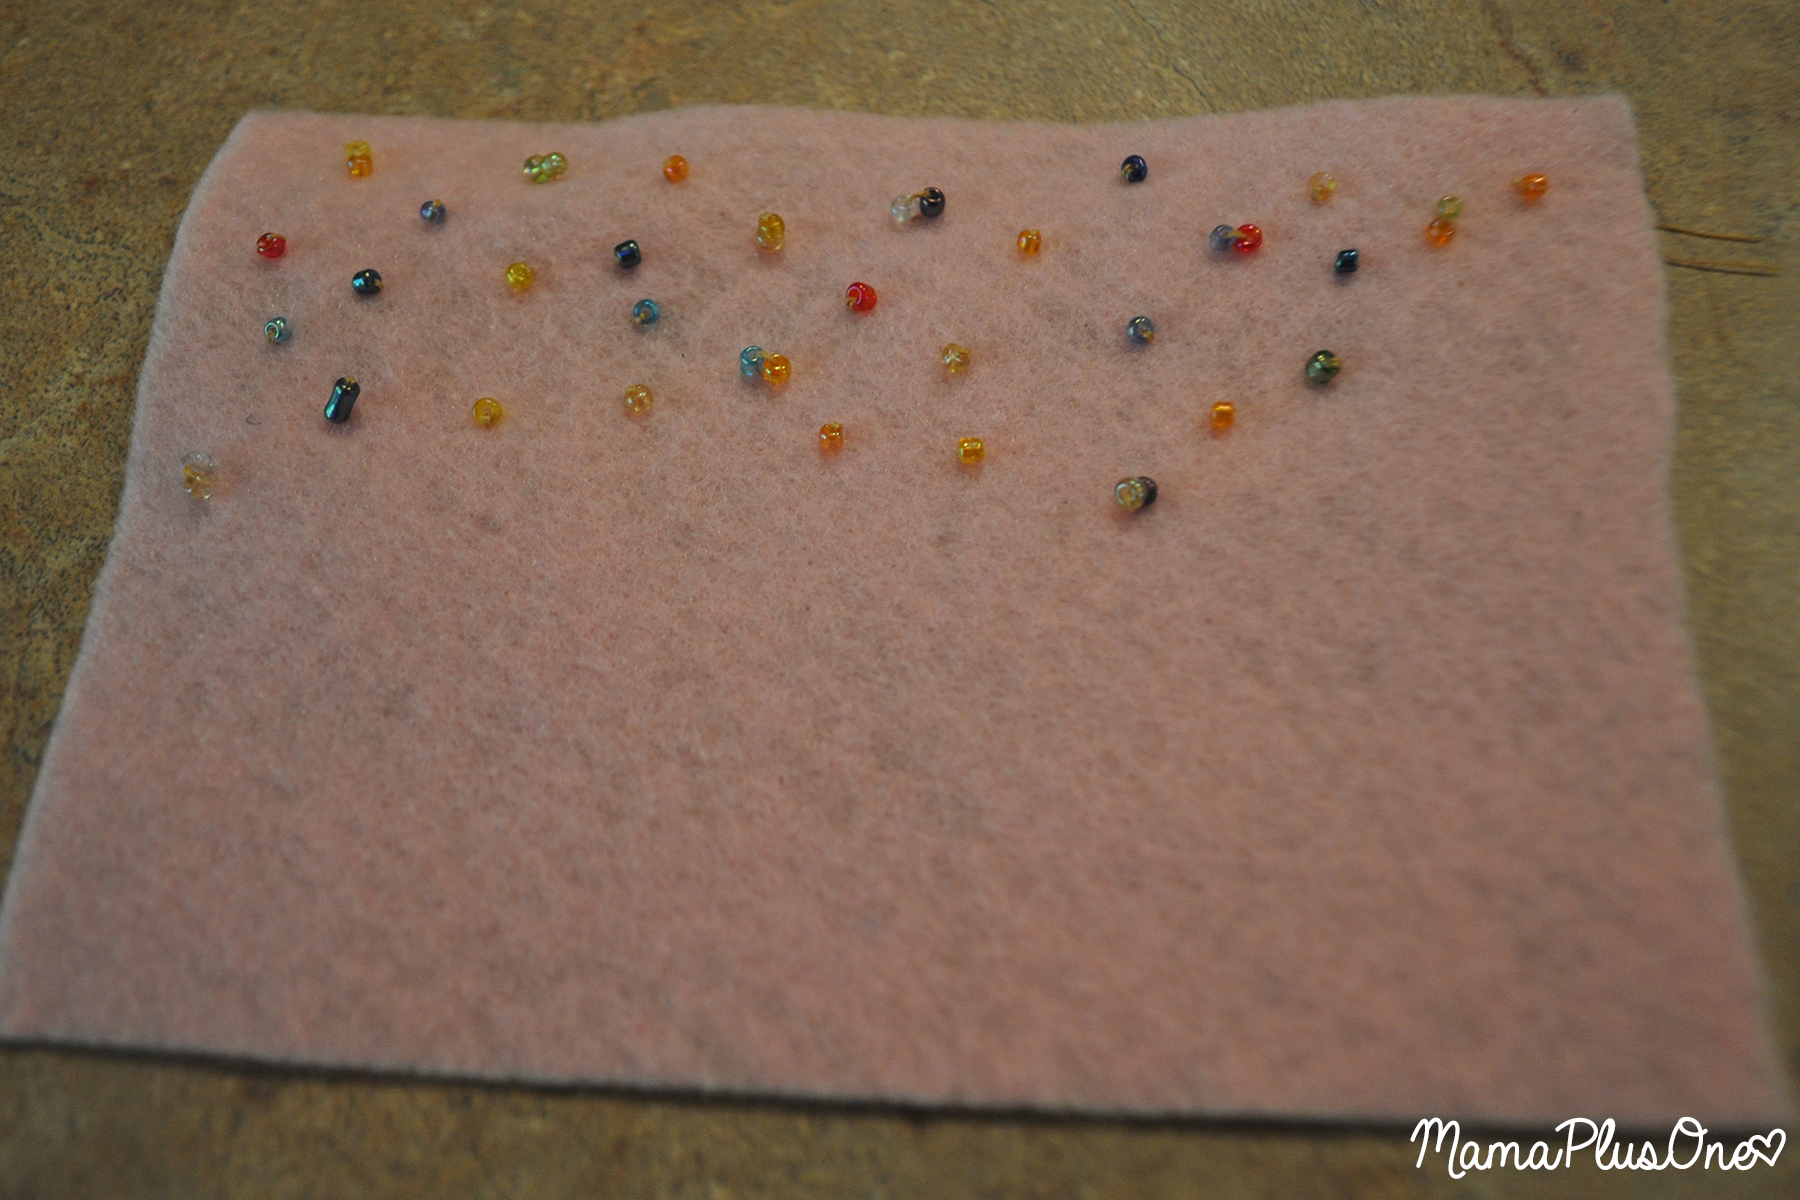
You’ll want to make the beads random. Think about it: when you purchase a Pop Tart, the sprinkles aren’t lined up in neat little rows. You want your beads to reflect this same quality on your felt food. I like to just randomly grab colors out of the bag, and sometimes sew on two instead of just one. The random placement makes it a bit more “real.”
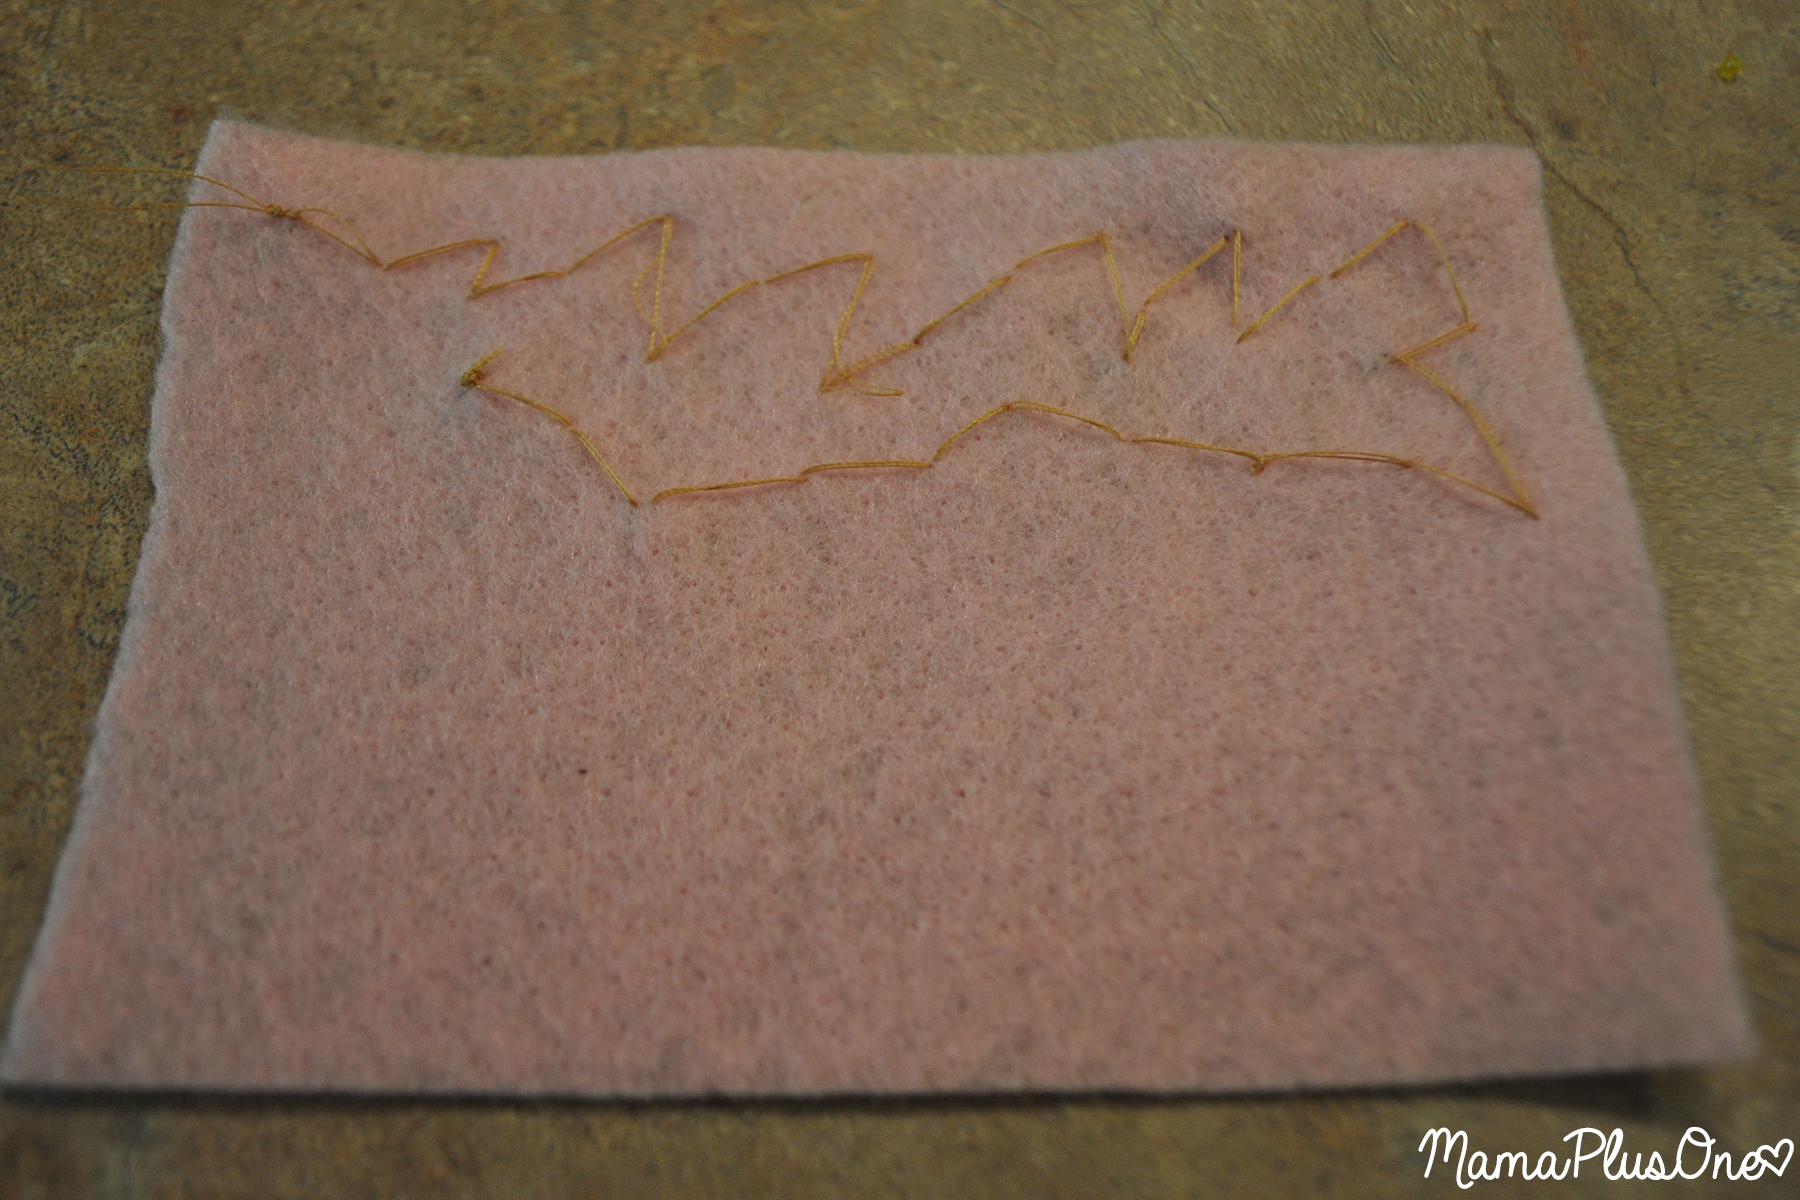
Don’t worry about tying off the thread until you’ve finished the Pop Tart entirely. I ran out of thread here, so you can see how I just tied it off and started again where I left off. It’s got very little rhyme or reason, and just jumps from bead to bead.
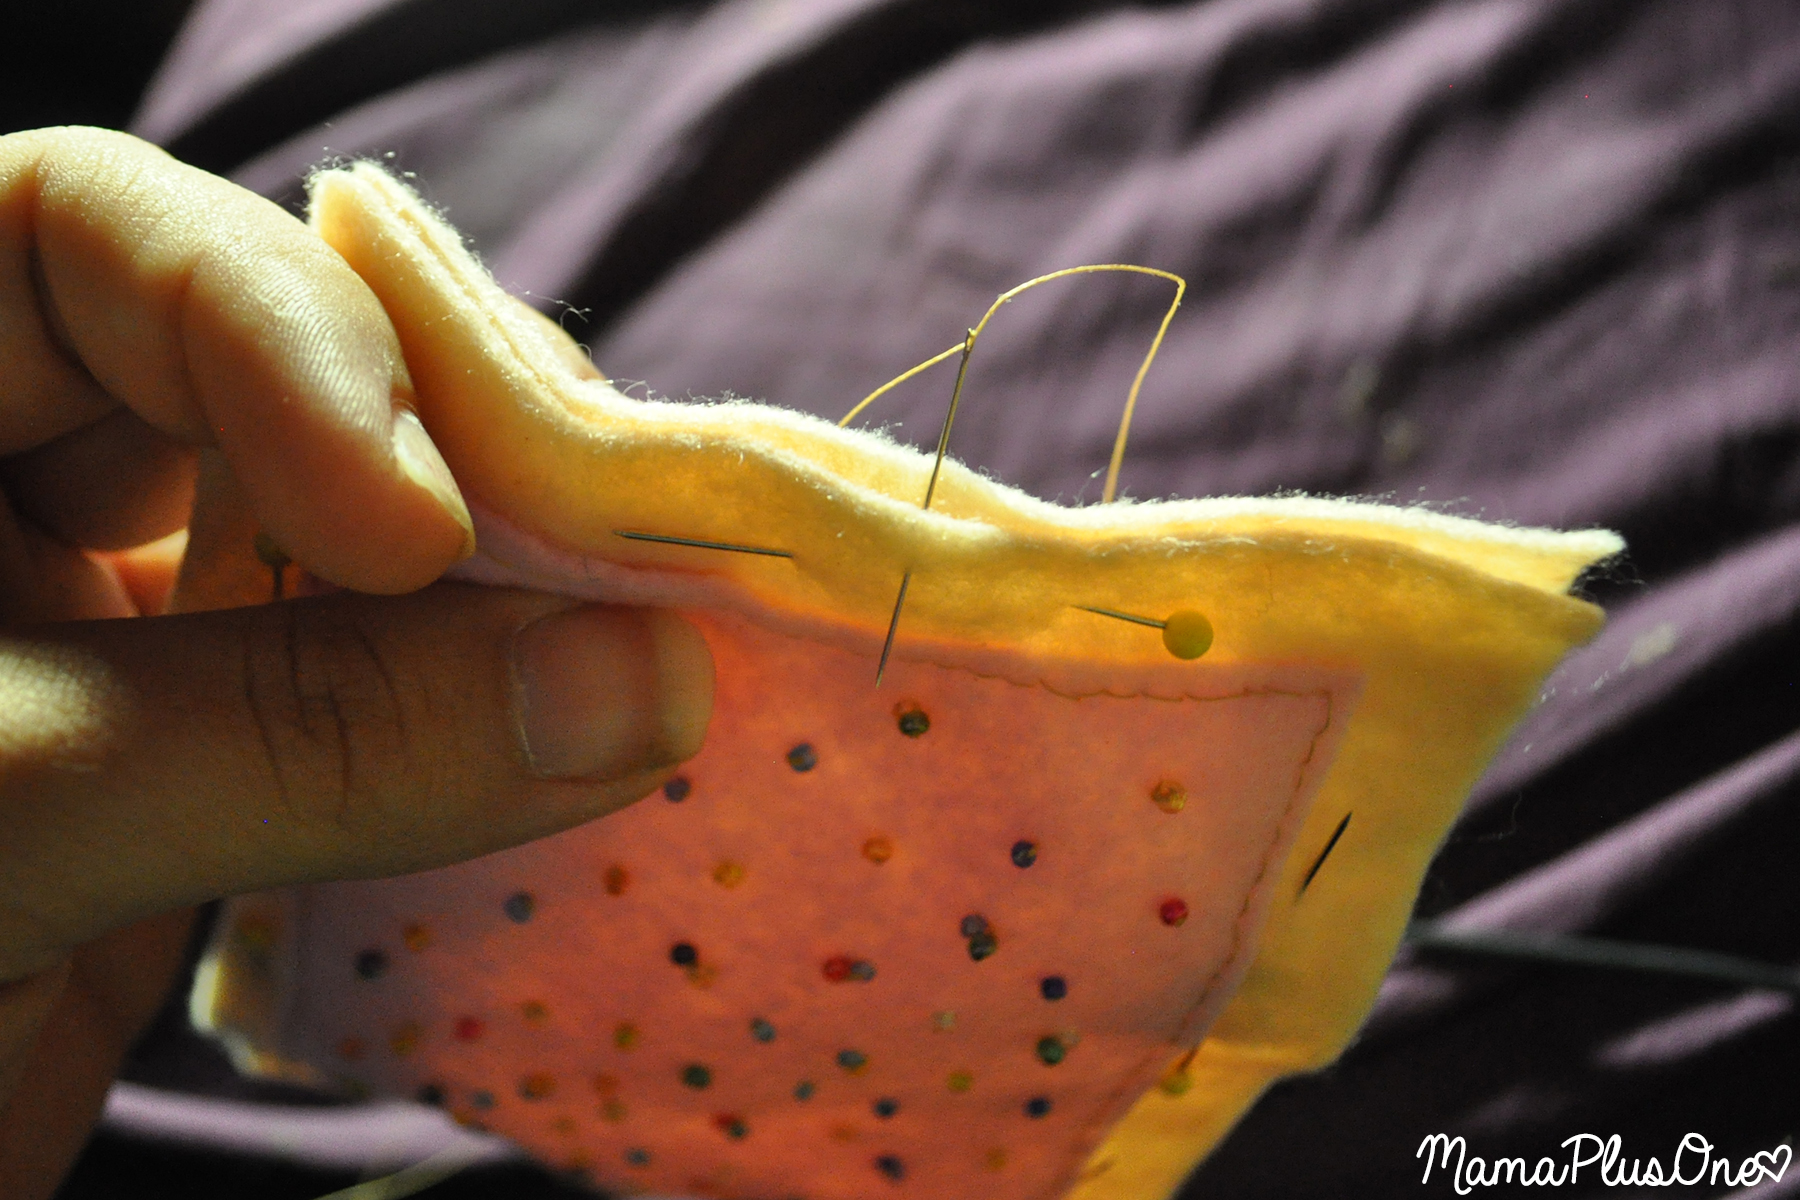
Now, you’ll want to attach your frosting layers to your top crust. Each Pop Tart will have three layers for stability– a bottom crust, a top crust, and the frosting. Three layers adds character and prevents you from needing any batting or filler to keep them stable. For now, you’re just stitching the frosting layer to the top crust of each felt food Pop Tart. Don’t worry about which crust to make the top crust– just pick any of the tan rectangles to work. You’ll want to repeat this for both Pop Tarts. I use a very tiny backstitch around the edge.
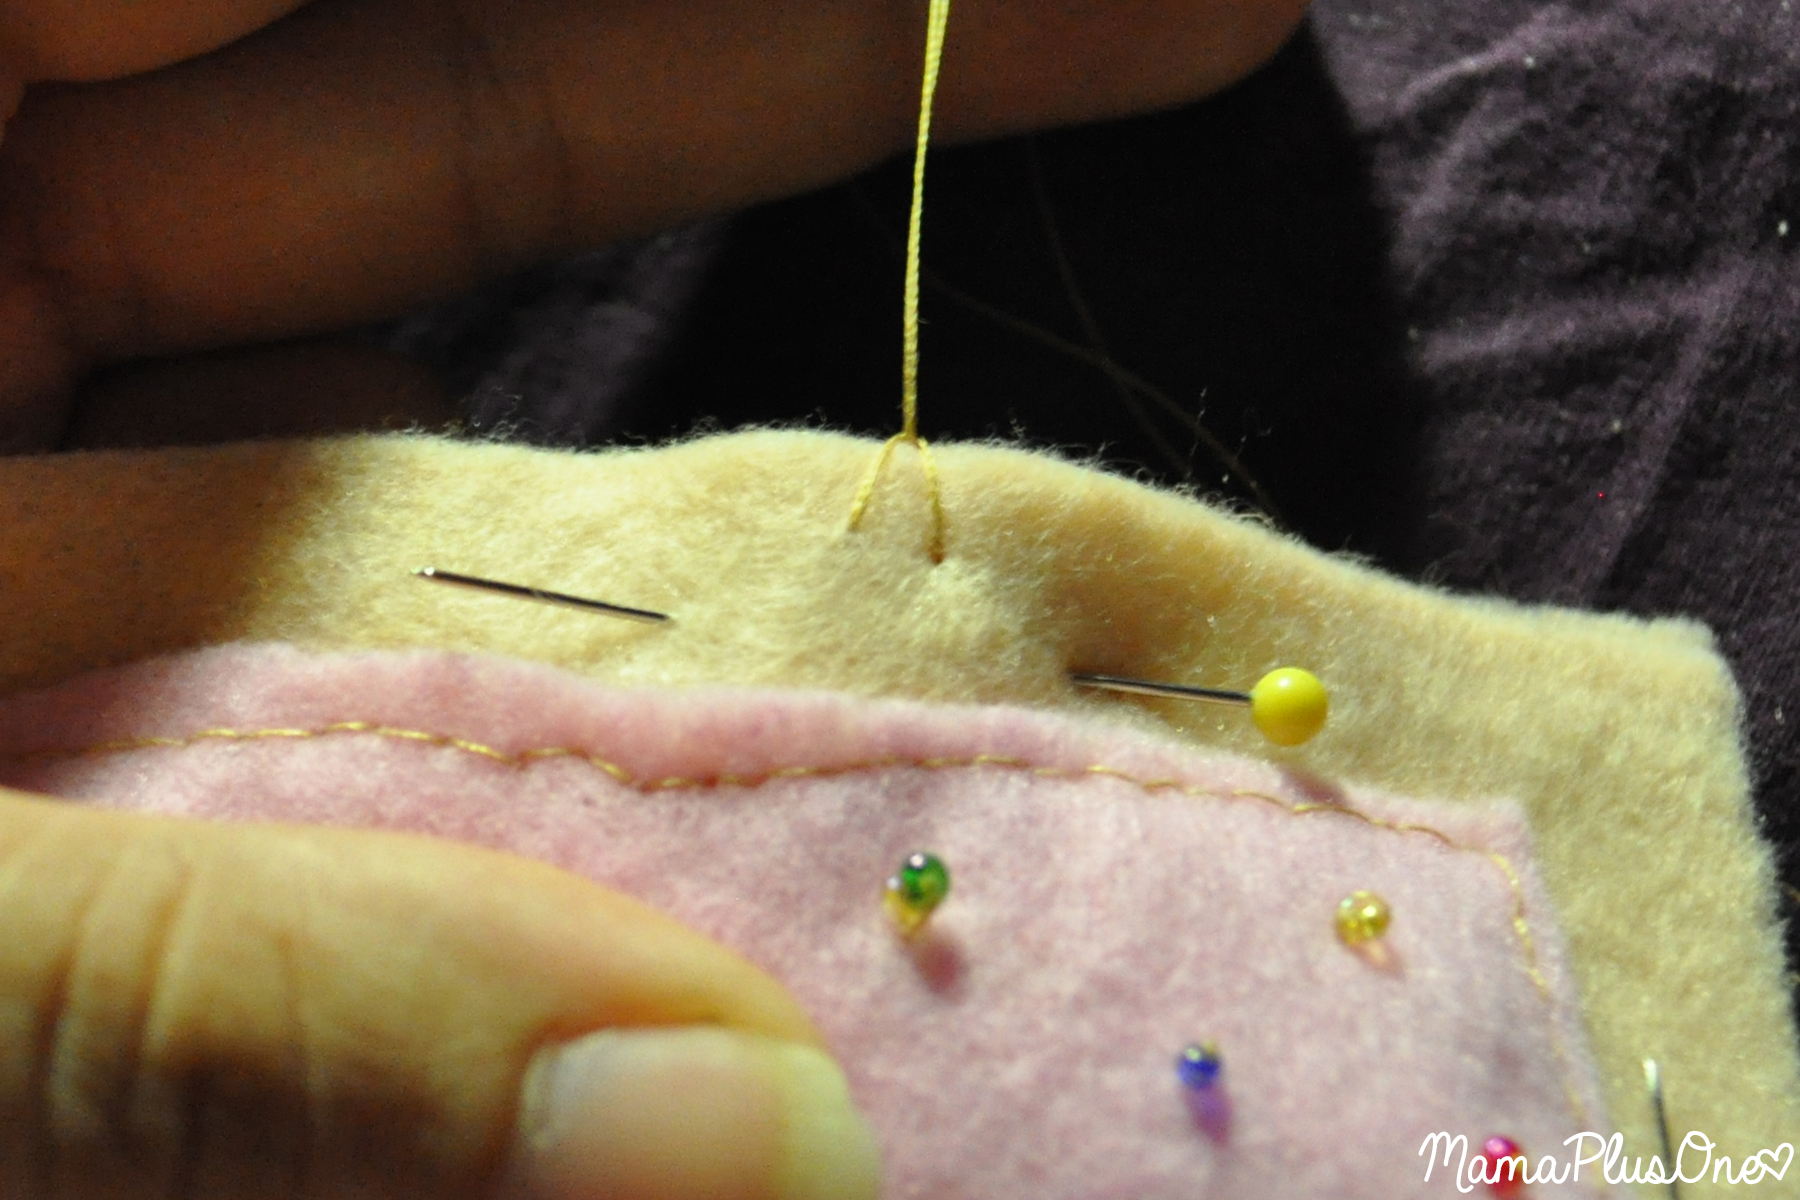
To do a blanket stitch, you’ll put your top and bottom crusts together, then enter the needle through the top crust, but not the bottom crust, essentially sandwiching your knot between the two.
You’ll want to re-insert the needle next to your stitch coming through, going downwards through both crusts. Before you fully tighten it, you’ll bring your stitch through the loop, like this:
See how you get two stitches side-by-side, then a loop coming through from the back? Bring your needle back downwards through the top crust, then bottom crust, and loop back through this loop you’ve created, also. Continue for several stitches, and you’ll get this:
It’s a little hard to see in the image, but you’ll have a line of thread going across the top as you make each stitch, and then several stitches going through both sides of fabric. Continue until you reach a corner.

When you get to the corner, you’ll do the stitch like normal, then go back through the same hole and come up, making sure your line goes at an angle. Go through the same hole one more time, and come up to give your straight stitch on the next side, and then continue sewing. Repeat on each corner.
If you run out of thread, tie it off, then bury the thread in the middle of the felt food Pop Tart by stitching in between the two crust layers and coming out through one side, cutting the thread off. This will hide the thread inside of the Pop Tart so you won’t have a tail. When you go to start your stitch again, start it through the knot where you left off, then just continue as though it’s the same thread. Quick and easy!
Tie off the same way when you’re finished, and viola! A set of adorable Felt Food Pop Tarts! They’re so cute and easy– you can use them in a play kitchen or gift them to a child who loves to pretend to cook. Pair it with some other fun felt foods, like felt doughnuts and felt cookies, and give it as a set. With felt being roughly 25 cents per 8×10 sheet at Hobby Lobby, and using the same thread for tons of projects, you’ll end up with a whole flock of felt food that make great gifts for only a few dollars– far cheaper than buying felt food commercially!
What felt food tutorial would you love to see next?